VPN.UIB.NO på Windows 7 (privatdriftet)
From IThelp
This guide deals with setting up a VPN connection to UiB using. L2TP / IPsec on privately run equipment with Windows 7.
For best results, this should be done while logged on to a user account with administrative rights.
'Attention! You must be connected to the Internet either wirelessly (Wi-Fi) or by cable for the VPN to work. '
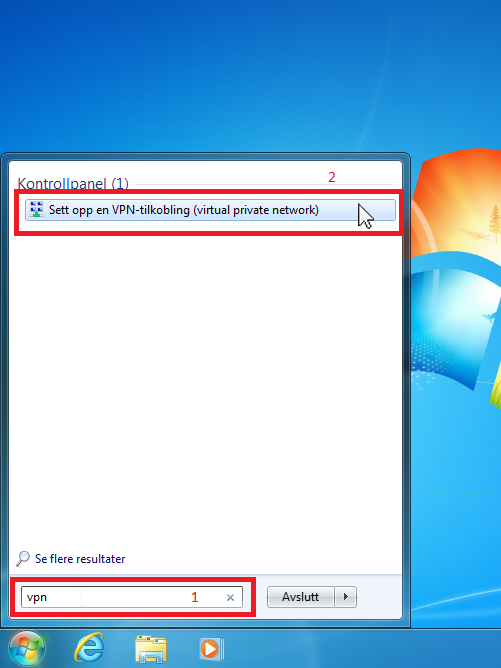
- Begin by clicking the 'Start' button at the bottom right of the screen.
- Then type 'vpn' in the text box (1) and then click 'Set up a Virtual Private Network (VPN) connection' (2).
- In the dialog box, fill in the following:
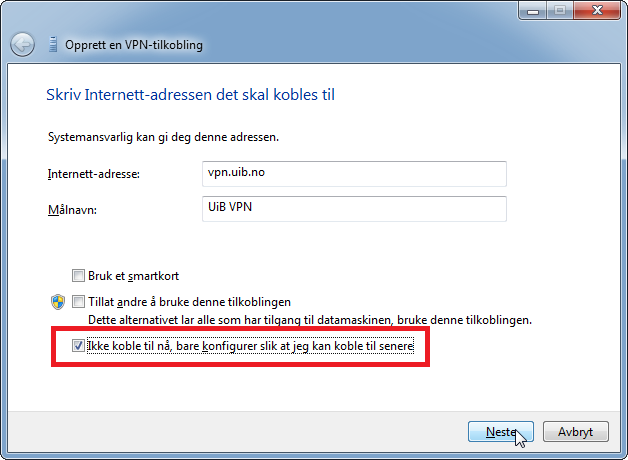
Internet address: vpn.uib.no
Target name: UiB VPN
</ Pre>
* If other people log on to the machine with different accounts, also have access to this link, check "Allow others to use this link".
Check  'Don't connect now, just configure so I can connect later.'  Click  'Next' .
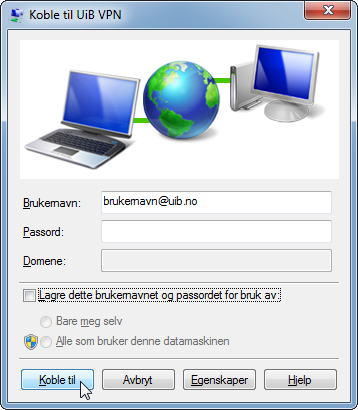
- Enter your username and password. Remember to include '@ uib.no' .
* For security, do not check 'Remember this password' .
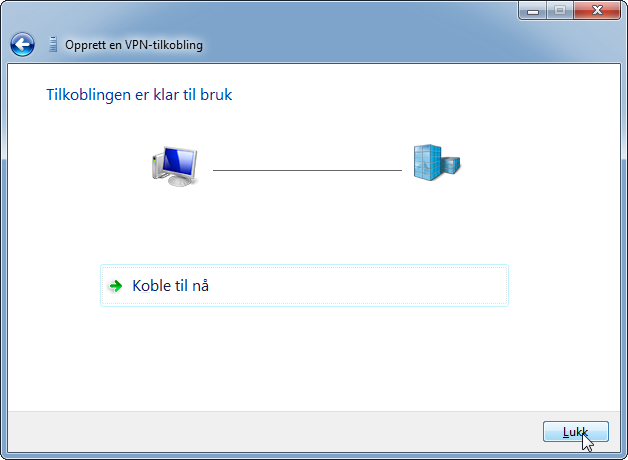
Click 'Burn' (or Next / Next)

- Click 'Close' .
- Click the 'Start' button again, and type 'network' in the text box (1). Then click on 'View network connections' (2).
File:06 Netwerksinstillinger.png - From the 'VPN Type' 'drop-down menu, select' Layer 2 Tunneling Protocol with IPSec (L2TP / IPsec) '(1). Then click on 'Advanced Settings' (2).
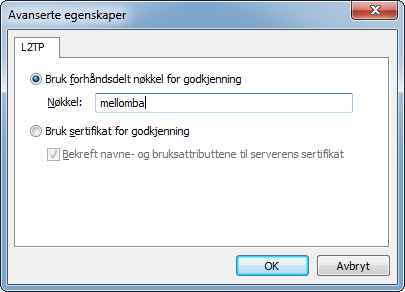
File:07 Features for VPN.png - Here, select 'Use Pre-Shared Key for Authentication' and enter the key you find VPN, _Virtual_private_network # Shared Secret Information
Click 'OK' , then 'OK' again to save the changes you made in the previous step.
- You can now double-click 'UiB VPN' , from 'Network Connections' . If you entered your username in step 4, just enter your password and click 'Connect' .
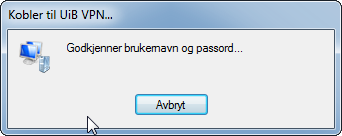
You can follow the process. Last step before successful connection should be 'Authenticate username and password' .
You can check if you are connected to UiB's network by going to eg. 'minip.no' .
Upon successful connection to VPN, the address should start with 129.177. The latest numbers will vary.


